Vessel aims to make your everyday development easy, as if you're not using Docker at all. Here's how to run your everyday commands.
Composer
Often you can run Composer directly as usual, but you can run them within Vessel as well. You can use vessel's composer command or comp command for short.
# Use composer
./vessel composer <cmd>
./vessel comp <cmd> # "comp" is a shortcut to "composer"
For example, to install the AWS SDK, run:
./vessel composer require aws/aws-sdk-phpArtisan
Artisan commands can be run directly on your host machine as well, except when they interact with the cache or database.
In those cases, we'll need Vessel to run the artisan commands. We can use artisan or art for short.
./vessel artisan <cmd>
./vessel art <cmd> # "art" is a shortcut to "artisan"
All commands and flags are passed along to Artisan. For example, to run migrations and seed the database, use:
./vessel artisan migrate --seedPHP
Ad-hoc PHP commands can be run within Vessel.
Just use the php command:
# List php CLI modules:
./vessel php -m

# Echo "hello world"
./vessel php -r "echo 'hello world';"

# Use artisan, because why not?
./vessel php artisan list
All commands and flags are passed along to PHP. Additionally, all commands are run relative to your project root directory (the same directory that your Laravel application resides).
Queue Workers
Queue workers are just another artisan command. You can run them like any other artisan commands (Laravel queue worker docs here):
# Just like from Laravel docs
./vessel artisan queue:work

# Run a single job
./vessel artisan queue:work --once

# Give jobs 3 tries before deleting/marking as failed
# Sleep 3 seconds before polling for more jobs
#   after no more available jobs are found
./vessel artisan queue:work --tries=3 --sleep=3
To stop a queue worker, you can use ctrl+c as usual.
However, if ctrl+c doesn't work (which can happen if you start a worker before running ./vessel start), you can find the ID of the running container and "kill" it:
# Find the running instance of the vessel/app container,
# likely is the top listed container
docker ps

# Get the container ID and "kill" it
# Here we kill the container with ID 0770015f9257
docker kill 0770015f9257
Testing
We can use Vessel to run our tests as well! This is especially useful if you test with your database or SQLite.
Vessel has the test command to help us out here.
# Run phpunit tests
./vessel test
You can use any commands or flags you would normally use with phpunit as well.
./vessel test --filter=some.phpunit.filter
./vessel test tests/Unit/SpecificTest.php
NodeJS/NPM/Yarn/Gulp
Vessel also builds a container with NodeJS, NPM, Yarn, and Gulp. This container isn't actively running but can be used whenever you like.
Node
Any Node command can be run, such as node index.js.
# Run nodejs
./vessel node <cmd>
NPM
Any NPM command can be run, such as npm install foo.
# Run npm
./vessel npm <cmd>

## Example: install deps
./vessel npm install
Yarn
You may prefer to install and run tasks with Yarn.
./vessel yarn <cmd>

## Example: install dependencies
./vessel yarn install

## Watch for file changes
./vessel yarn watch

## Run the dev task
./vessel yarn run dev
Gulp
If you are using Gulp, you can continue to use that as well.
./vessel gulp <cmd>Multiple Environments
Vessel attempts to bind to port 80 and 3306 on your machine, so you can simply go to http://localhost in your browser.
However, if you run more than one instance of Vessel, you'll get an error when starting it; Each port can only be used once. To get around this, use a different port per project by setting the APP_PORT and MYSQL_PORT environment variables in one of two ways:
Within your project's .env file:
APP_PORT=8080
MYSQL_PORT=33060
Or when starting Vessel:
APP_PORT=8080 MYSQL_PORT=33060 ./vessel startThen you can view your project at http://localhost:8080 and access your database locally from port 33060.
Note that changing
APP_PORTandMYSQL_PORTdoes not change the fact that Nginx listens on port 80 and MySQL listens on port 3306. Instead, it only changes what port is forwarded from your host machine into the containers.Within the containers (which are all within a Docker network), software and containers communicate to eachother over the default ports. For example, your PHP code will connect to MySQL on port
3306no matter what (there's no reason to change theDB_PORTenv var).This port setup is merely convenience to communicate into your containers from the outside world:
APP_PORTis set so you can connect to the app container from your browserMYSQL_PORTis set so you can connect to your MySQL container from a client such as Sequel Pro
Sequel Pro
Since we bind the MySQL to port 3306, Sequel Pro can access the database directly.
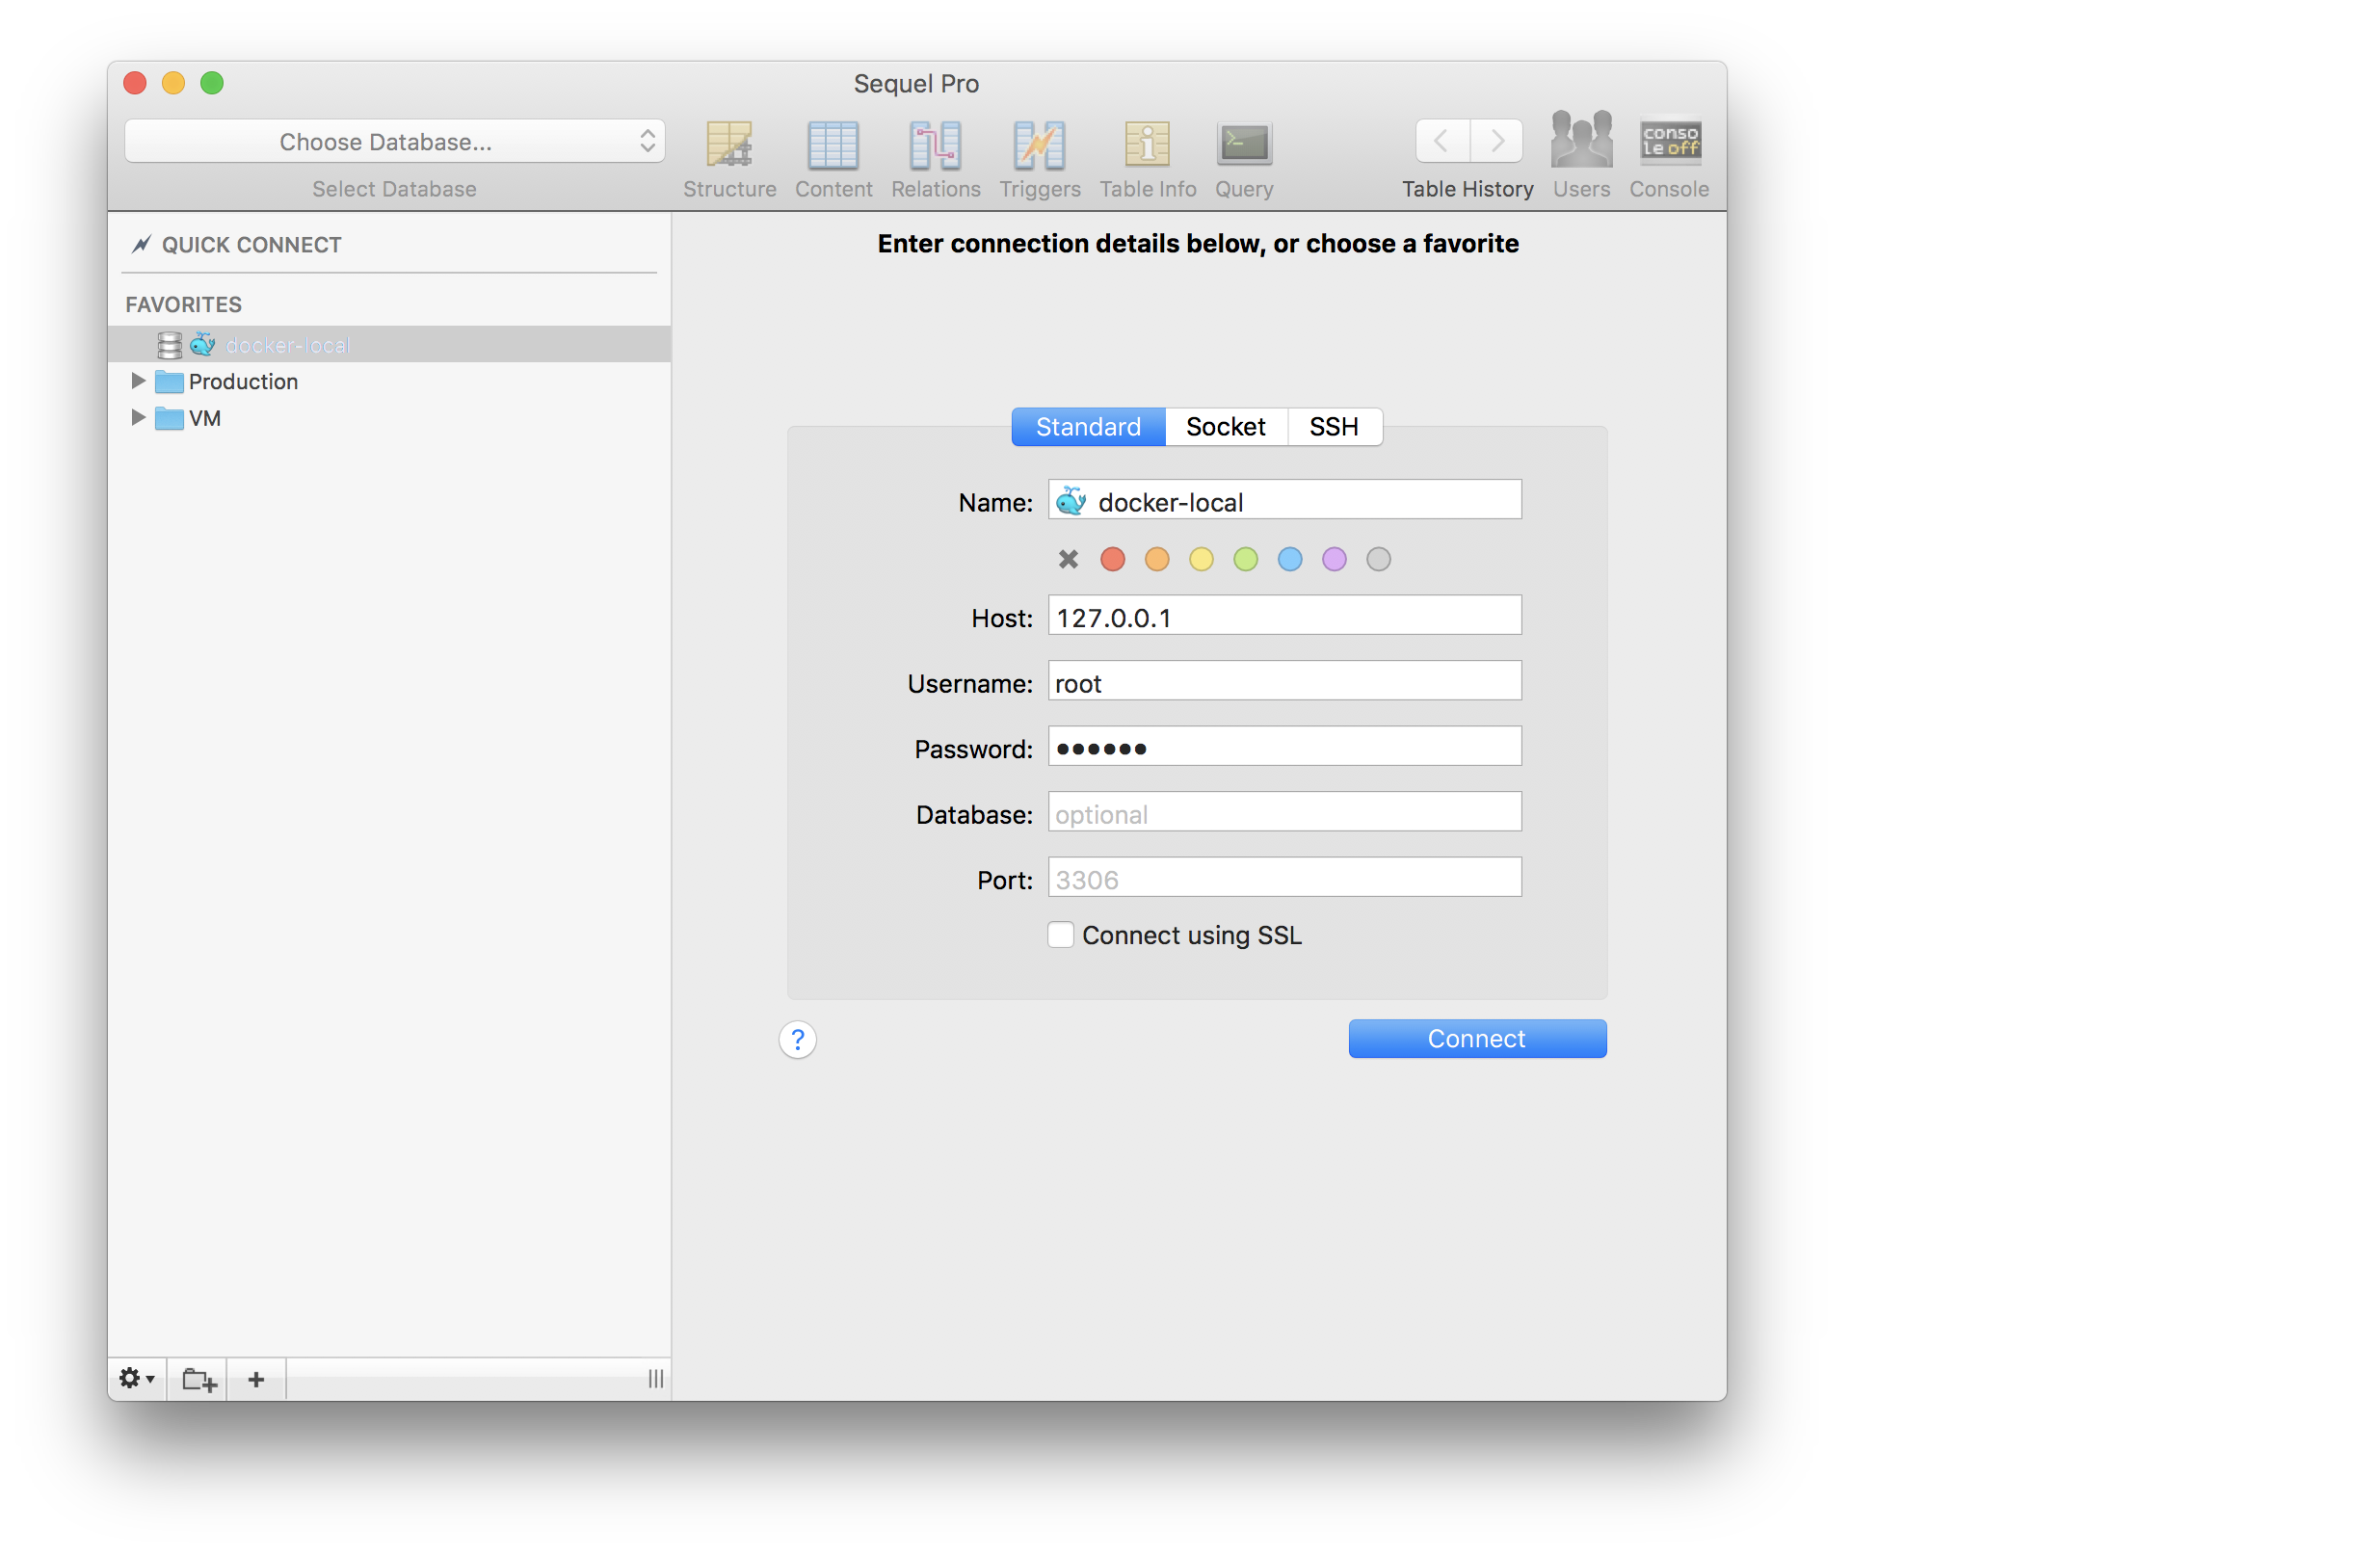
The password for user root is set by environment variable DB_PASSWORD from within the .env file.
The Port setting in Sequel Pro must match the
MYSQL_PORTenvironment variable, which defaults to3306.
MySQL
You'll likely find yourself needing to perform some MySQL operations.
Log into MySQL
Vessel has a shortcut to allow you to log into MySQL. This will also run use your_database, where "your_database" is the database set by your DB_DATABASE environment variable.
This requires the MySQL container to be running.
# Log into mysql
./vessel mysql
Exporting the Database
Vessel has a shortcut to allow you to export the database configured in the .env file. This outputs to stdout; You'll need to redirect the output to a file on your local file system:
# Export the database and save it to example.sql
./vessel dump > ~/Sites/example/example.sql

# Export the database, gzip it, save it to example.sql.gz
./vessel dump | gzip > ~/Sites/example/example.sql.gz
Importing a Database
Importing a .sql file is a bit more complex due to how Docker interacts with the file system, but it's still very doable.
This may more easily be done within Sequel Pro or a similar GUI client, however here's how to do it on the command line.
Let's say we have a local file exports/example.sql we want to import into our database named example.
# This will prompt you for the
# mysql root user password
./vessel run --rm \
    -v exports:/opt \
    mysql sh -c "mysql -h mysql -u root -p example < /opt/example.sql"
Here's what this command is doing:
./vessel run --rm- Run a new container, and delete it when the operation is done-v exports:/opt- Share the local directoryexports(which containsexample.sql) into the container's/optdirectorysh -c "mysql -h mysql -u root -p example < /opt/example.sql"- Run this command within the container. Note the-h mysqltells it to connect to the hostnamemysqlwhich will point to the running mysql server- This command spins up a new server and just runs the mysql client. Technically it's making a remote network connection from this container into the container running mysql server!
- The example
/opt/example.sqlfile is available to mysql because of the volume sharing we did between the localexportsdirectory and the container's/optdirectory.
We use
sh -c, which lets us run a command as a string. If we did not, then the part< /opt/example.sqlwould attempt to run against our host computer instead of in the container.
Container CLI
You can run other operations against the MySQL container as well. Here are some examples.
MySQL CLI
This shows you how to use
execto runmysqlcommands against the database container. See the section aboveLog into MySQLto use the./vessel mysqlcommand as a shortcut to logging in using themysqlclient.This information below will let you do more complex
mysqlcommands.
# Execute against the "mysql" container
# the command "mysql -u root -p".
# This will prompt you for the root password to login.
./vessel exec mysql mysql -u root -p

# This is similar to the above command, but it spins up a new
# container rather than executes a command within a running
# container. This connects to mysql server at hostname `mysql`.
./vessel run --rm \
    mysql \
    mysql -h mysql -u root -p
App Container CLI (Bash)
If you want to "log into" your application container, you can run bash inside of it. This is just like SSHing into the application container, except we're just executing a bash process inside the already-running container.
./vessel exec app bashYou'll be running as user root, and can poke around the container. Note that any changes you make will not persist when you stop and restart Vessel.
You can do the same for some of the other containers as well:
# Log into the mysql container
./vessel exec mysql bash
Finally, you can use the ssh command shortcut as of version 3.1.0:
./vessel ssh app
./vessel ssh mysql
This will use bash to "log into" either containers. Accessing the node container is not supported.
Redis CLI
You can poke around the instance of Redis using redis-cli:
./vessel exec redis redis-cli